In this blog post I will share my experience of assembling, programming, and testing Robi-kun. Robi-kun is a Japanese toy robot which comes in parts from 70 magazines subscription. I’ve picked up an existing and half-done assembly, tested the assembled components, and completed the assembly to bring the robot to life :)
Introduction
I’ve tagged the blog post as social (it’s been a while since the last social one!), since I don’t assemble robots professionally (as of now:)) and this happened during my holidays :) But first things first.
Who is Robi-kun?
Robi or Robi-kun (jap. kun suffix indicates a boy, and sounds cute) was designed by De Agostini company and robotics expert Tomotaka Takahashi. Robi-kun now has a lot of fans, goods like membership cards, key holders etc. and accessories like motorcycle, charging-capsule etc. There has been even a second improved version of Robi-kun released.
The whole idea behind Robi-kun is introducing a new member of family to you. Robi-kun looks cute and speaks in a cute manner what makes him so popular in Japan, despite the price. You can even have an English-speaking version of Robi-kun.
Assembly
Coming from software development background and not having any experience in robotics, initially I’ve spent hours analyzing how parts connect to each other, how electric motors communicate with each other, and how to dissemble and assemble components when they do not work. While it’s possible to pick up most of the things from photos in the magazine, however reading the descriptions provides with useful advice and sometimes important key points. And once you get familiar with the assembly of one component, the other ones become much easier. This was a nice challenge, since assembling physical parts and electric motors uses a different mindset than developing software.
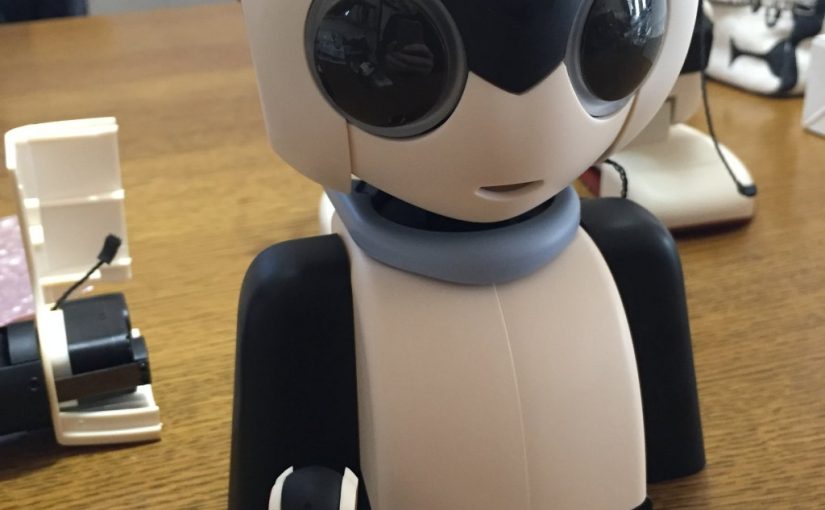
When I picked up the existing assembly of Robi-kun, I found two arms and two legs, and testing board in a body placeholder with a head mounted. The first thing the next magazine suggested was components testing – making sure arms and legs move correctly which was not the case with the left arm and right leg…
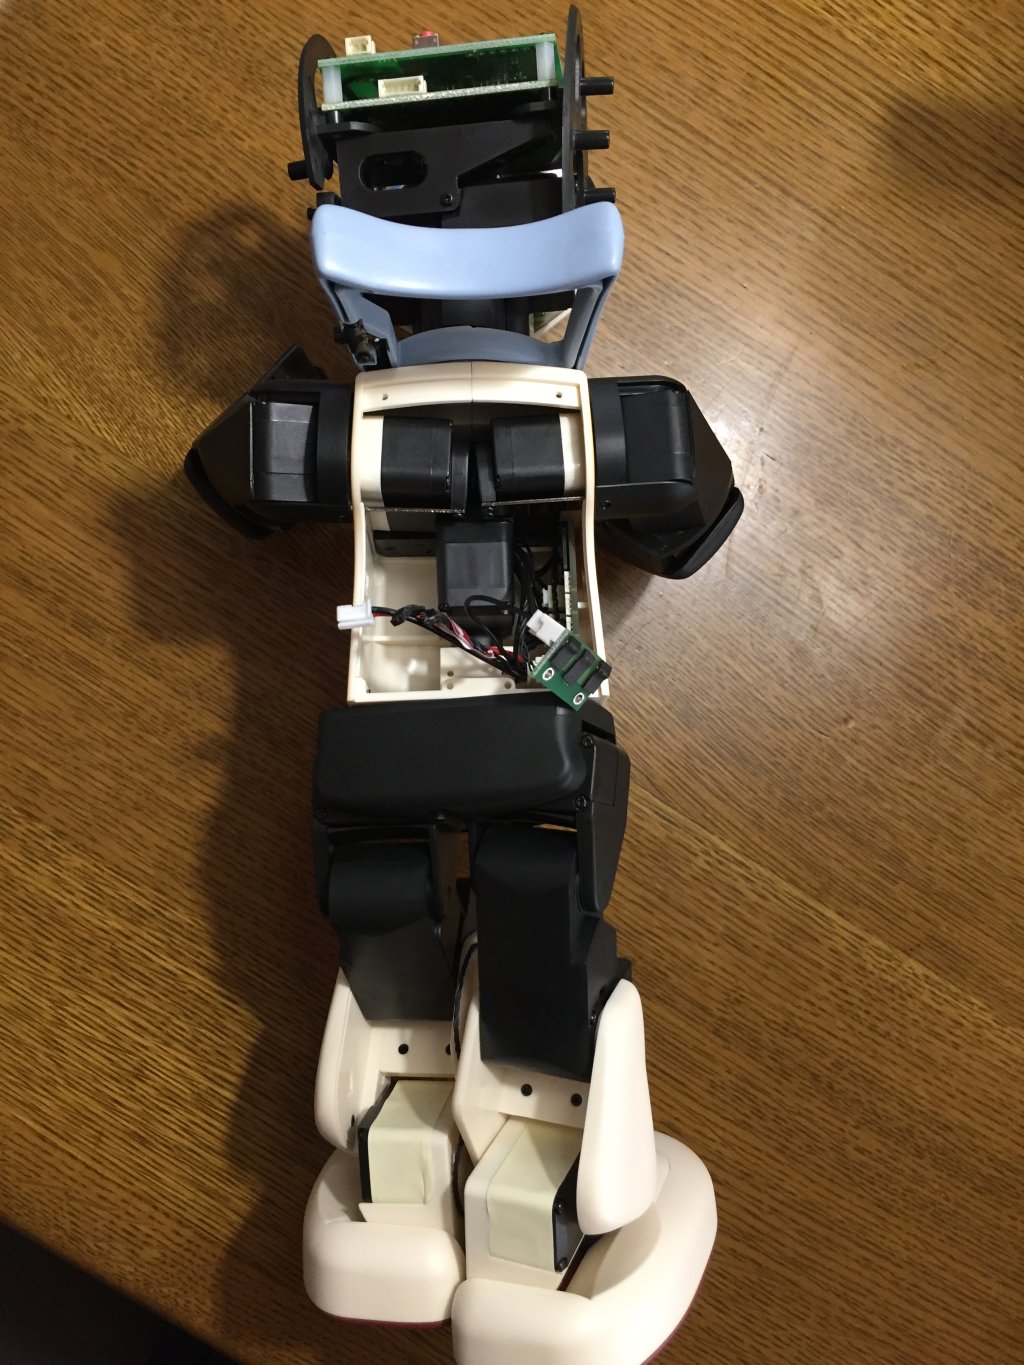
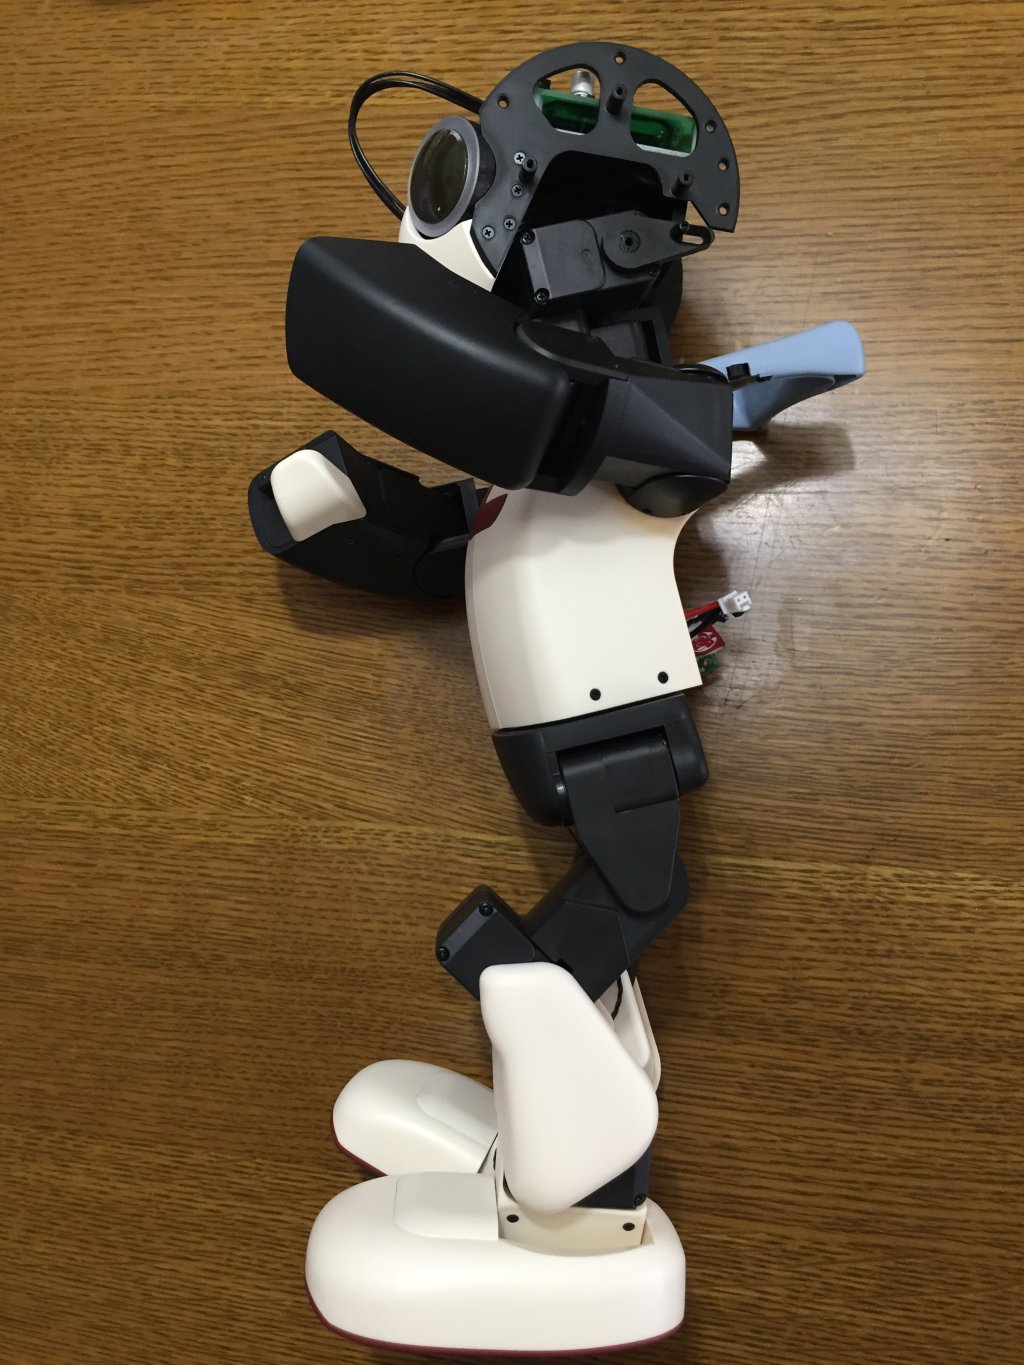
I couldn’t imagine that it takes 20 electric motors to run such a simply-looking robot. Each arm contains 3 electric motors, and each leg 5 motors. Head contains 3 motors, and torso 1 motor, and I had to make sure all of them are connected correctly. You can see torso and arms top-level motors in the photo below.
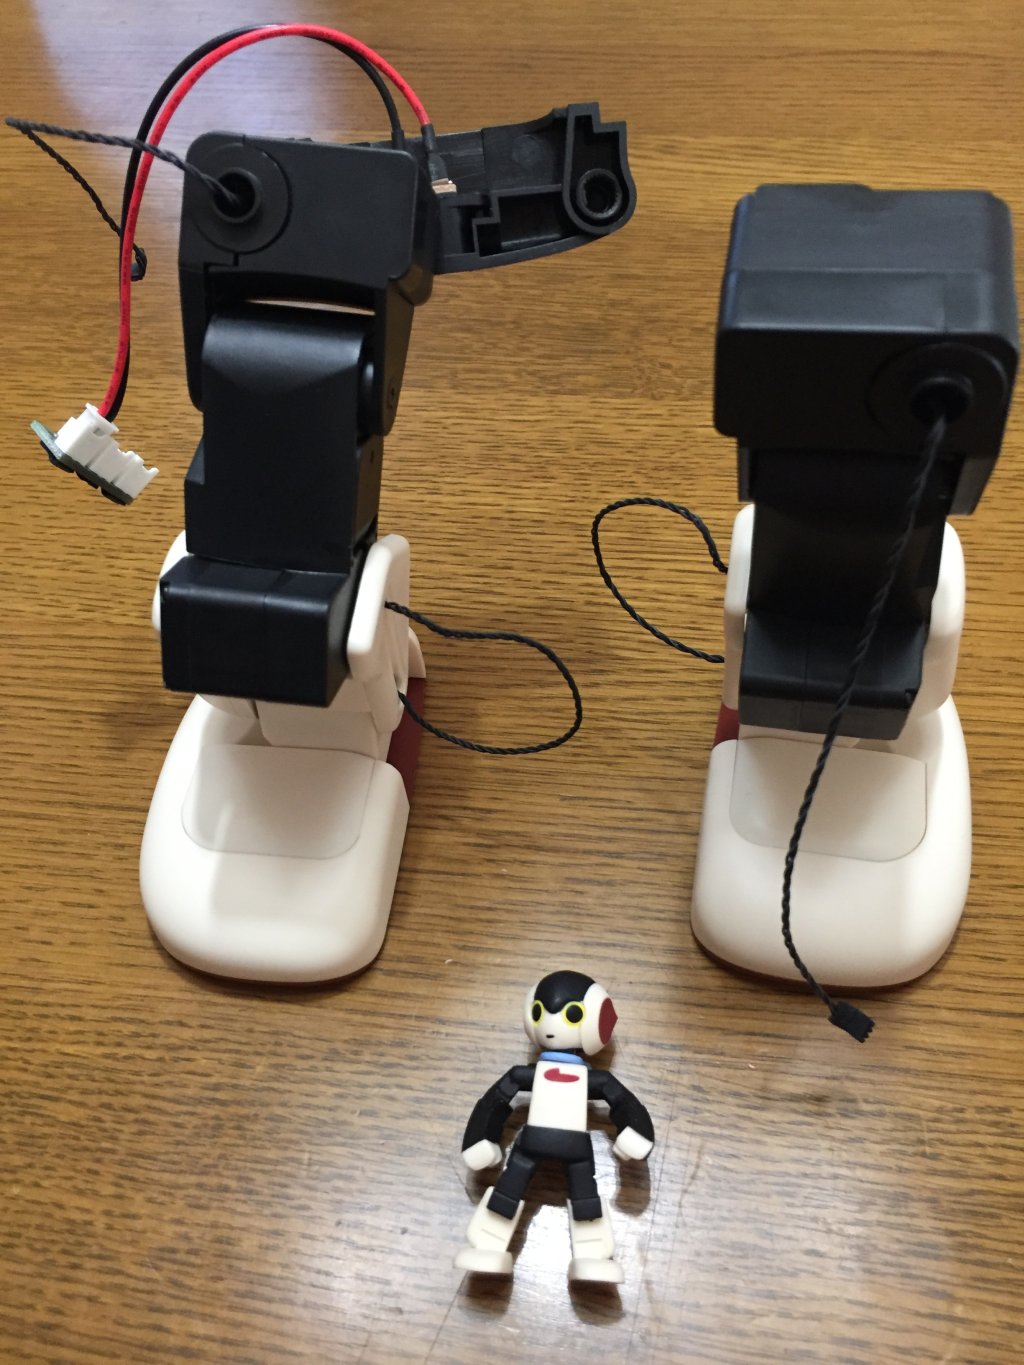
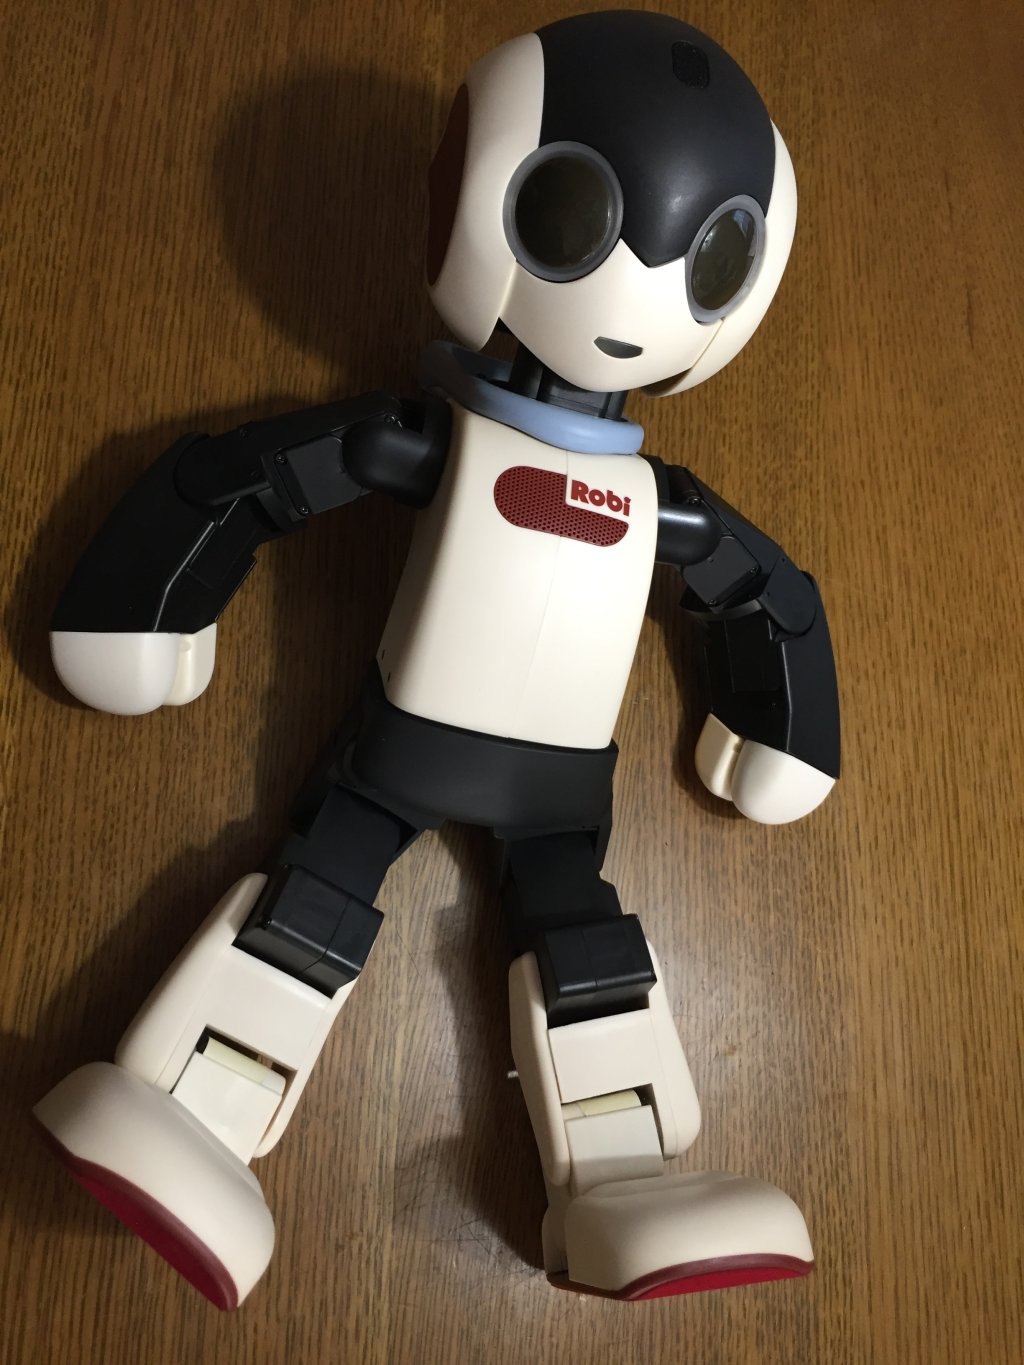
I was amazed with the precision of the cut of all the parts, and detailed instructions in magazines. This made the assembly straightforward albeit time-consuming due to the number of parts. After about a week I had all components tested&ready (see photo below) and started connecting them together. At this point the head was still empty, literally.

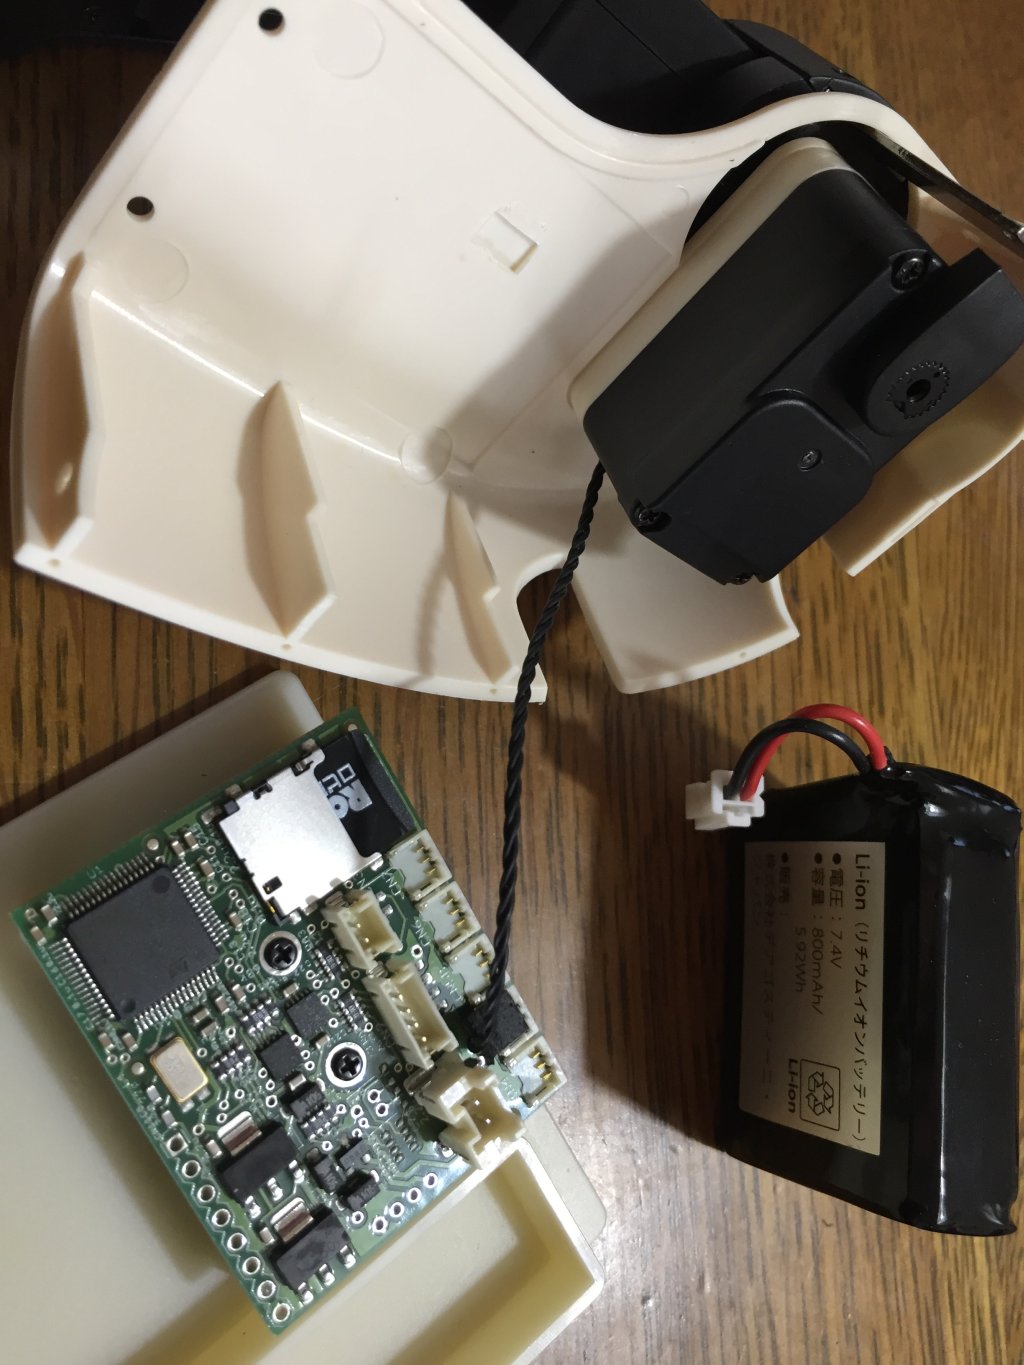
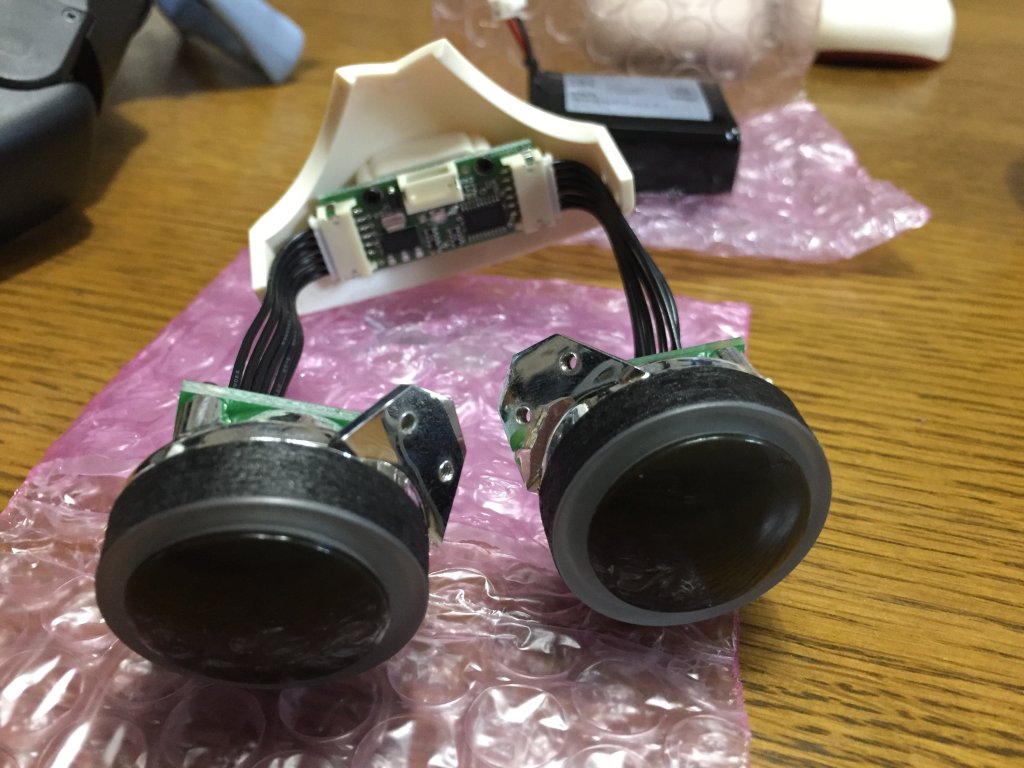
As you probably can guess, the most of Robi-kun’s brains are in … his head :) Eye sensors, infrared sensor to control TV, voice recognition and response processing, LED lights for eyes and mouth, and two layers of microchips to control all of this. Everything happens in his head.
Eye sensors can detect heat e.g. human body, and that’s how the robot would know to turn his head to a person that has just approached him.
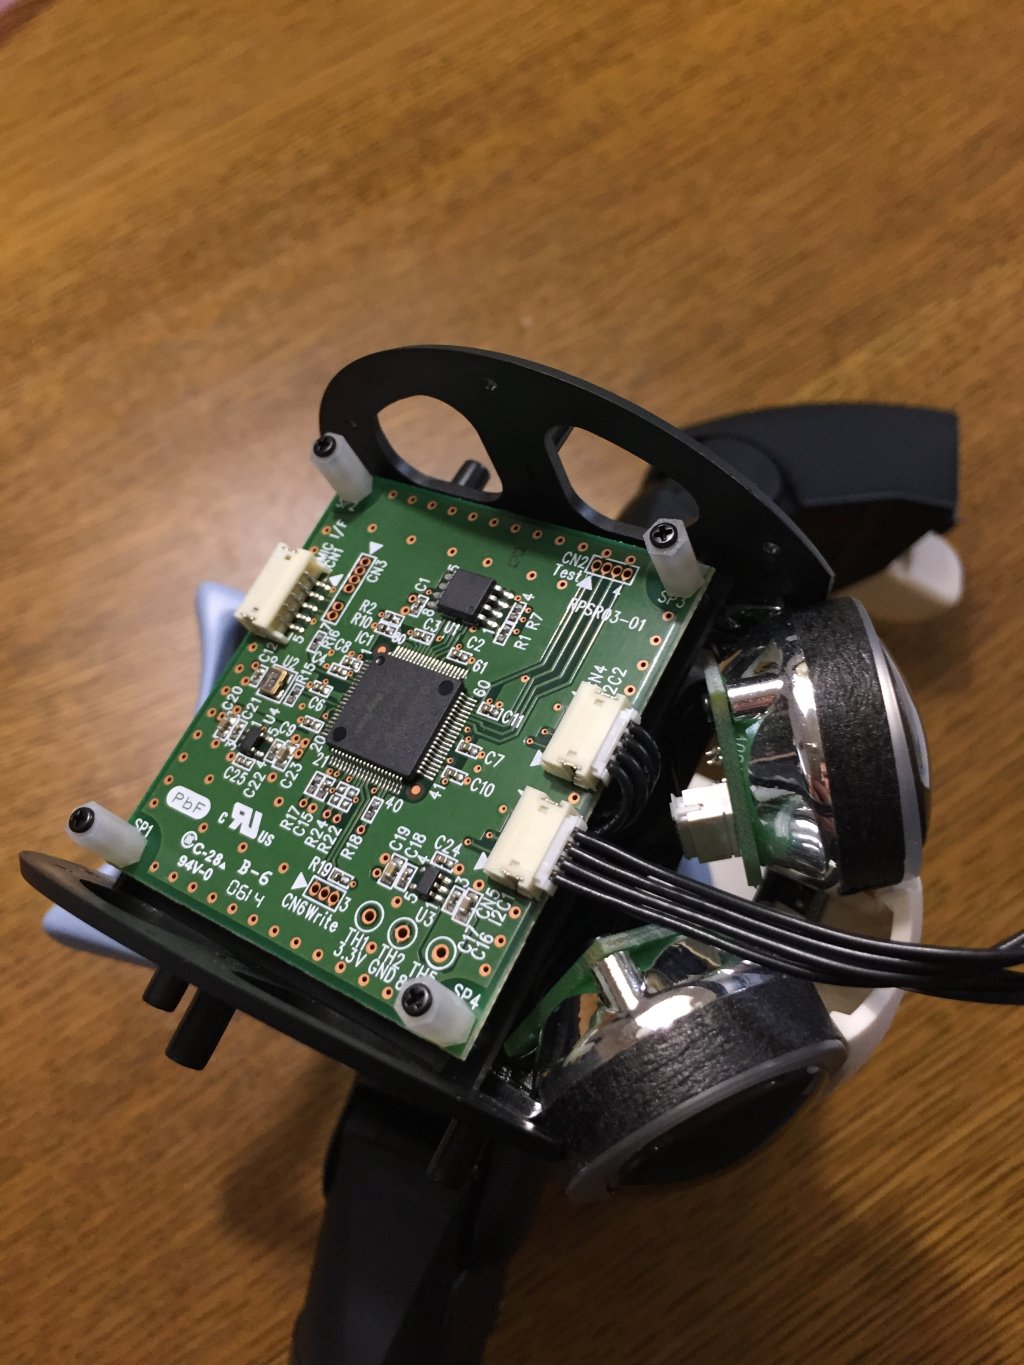
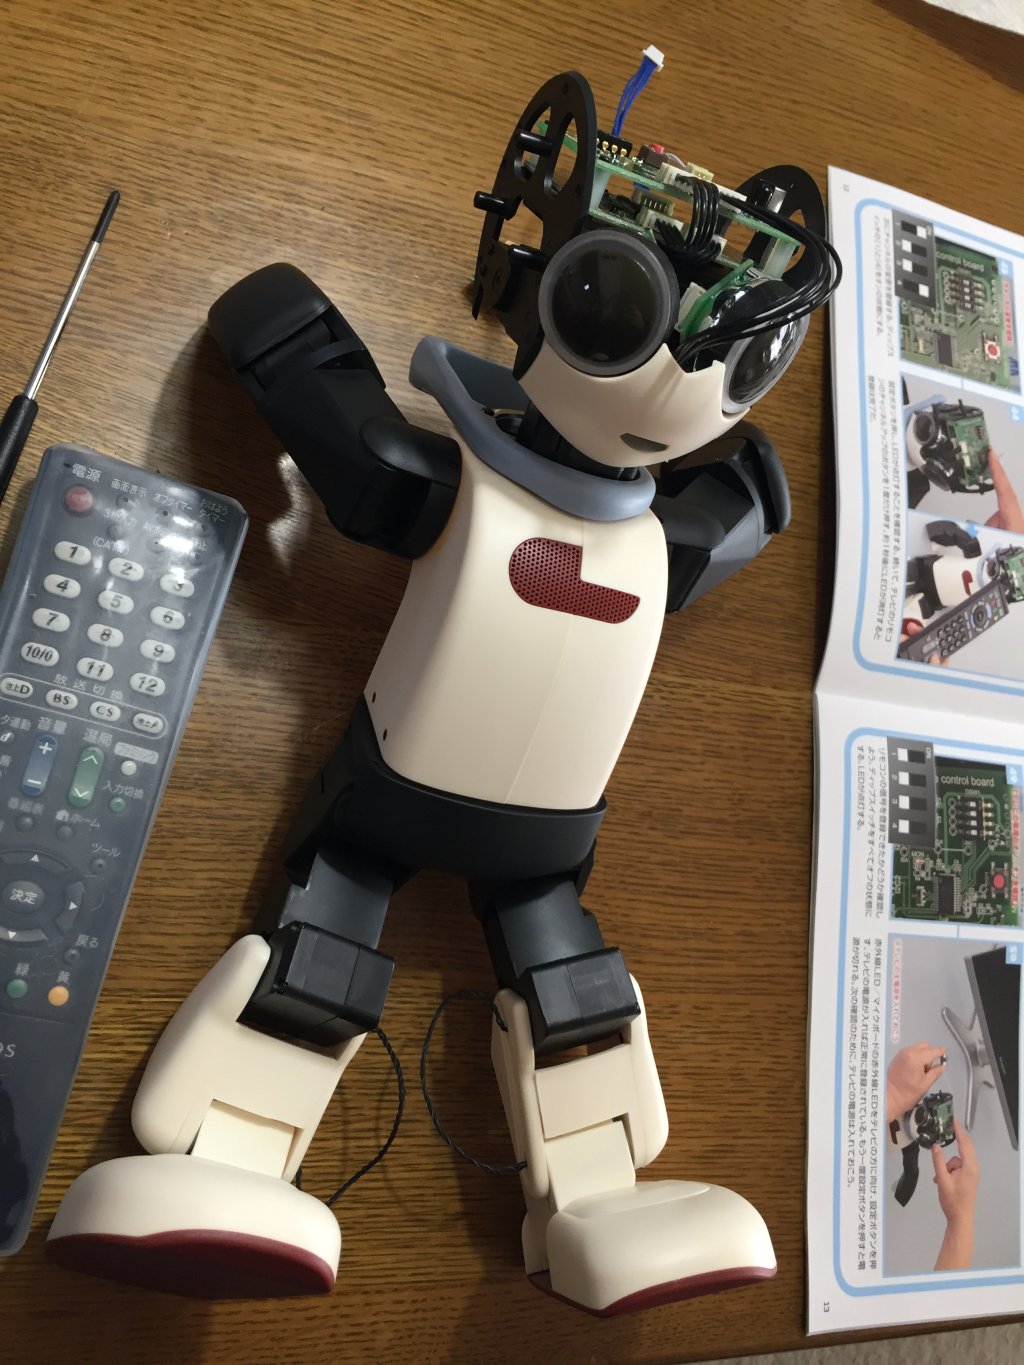
First layer of microchips (the main CPU) in the photo below below.
Brains setup almost completed.
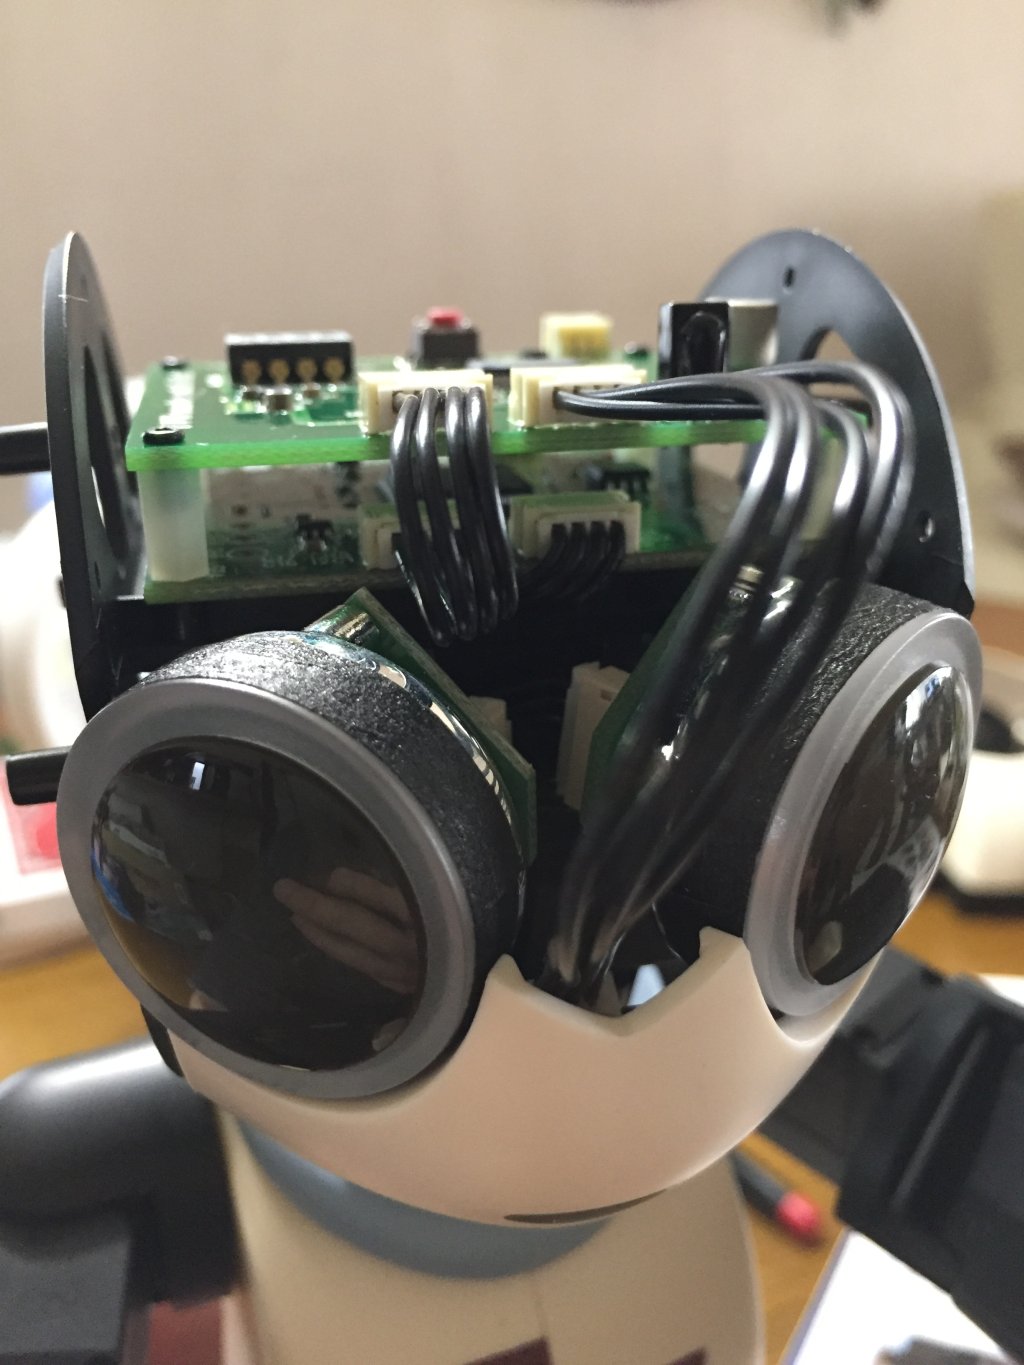
View from the back.
View from the side.
And fully completed!
Programming
Programming is my personal interest, therefore I wanted to dedicate a separate section in the blog post to share what I’ve noticed when assembling Robi-kun.
Electric motor IDs
Using the provided testing board in a body placeholder you can test motors, write a new ID, and test (read) an existing ID. I assume the core system calls motors by ID to perform a certain action, and this way a set of motors can perform an actual move, e.g. raise a hand. The testing board is able to read/write 29 different IDs in total, however the first ID is reserved as a default one for all motors, hence not used in programming the motors. The testing board is in the photo below.
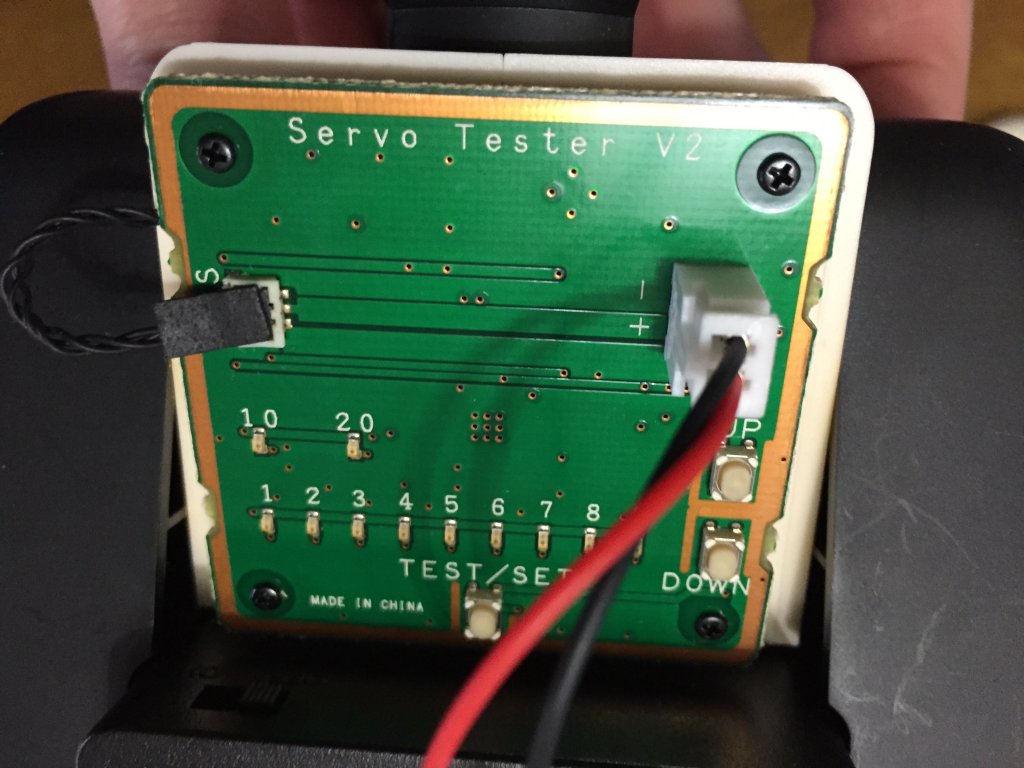
The important part is to make sure each motor has the correct ID programmed!
TV remote control
This is a nice feature – Robi-kun can turn on and off TV, change channel (forward only), and control volume (one volume step at a time). TV control is achieved by memorizing TV control signals sent via infrared, and playing them back at the TV. When assembling the head, one step is to record these signals from the TV remote control, and test them by manually changing memory switches. See the photo below — there are 4 switches to store (remember) different actions, and a red button to activate the memorization. For example, enabling #1 switch, pressing the set button, and then pressing the Turn On button on the remote control pointed to the head would save the signal for future use.

You can see some of the instructions and TV remote control I’ve used to program Robi-kun’s TV control feature in the photo below.
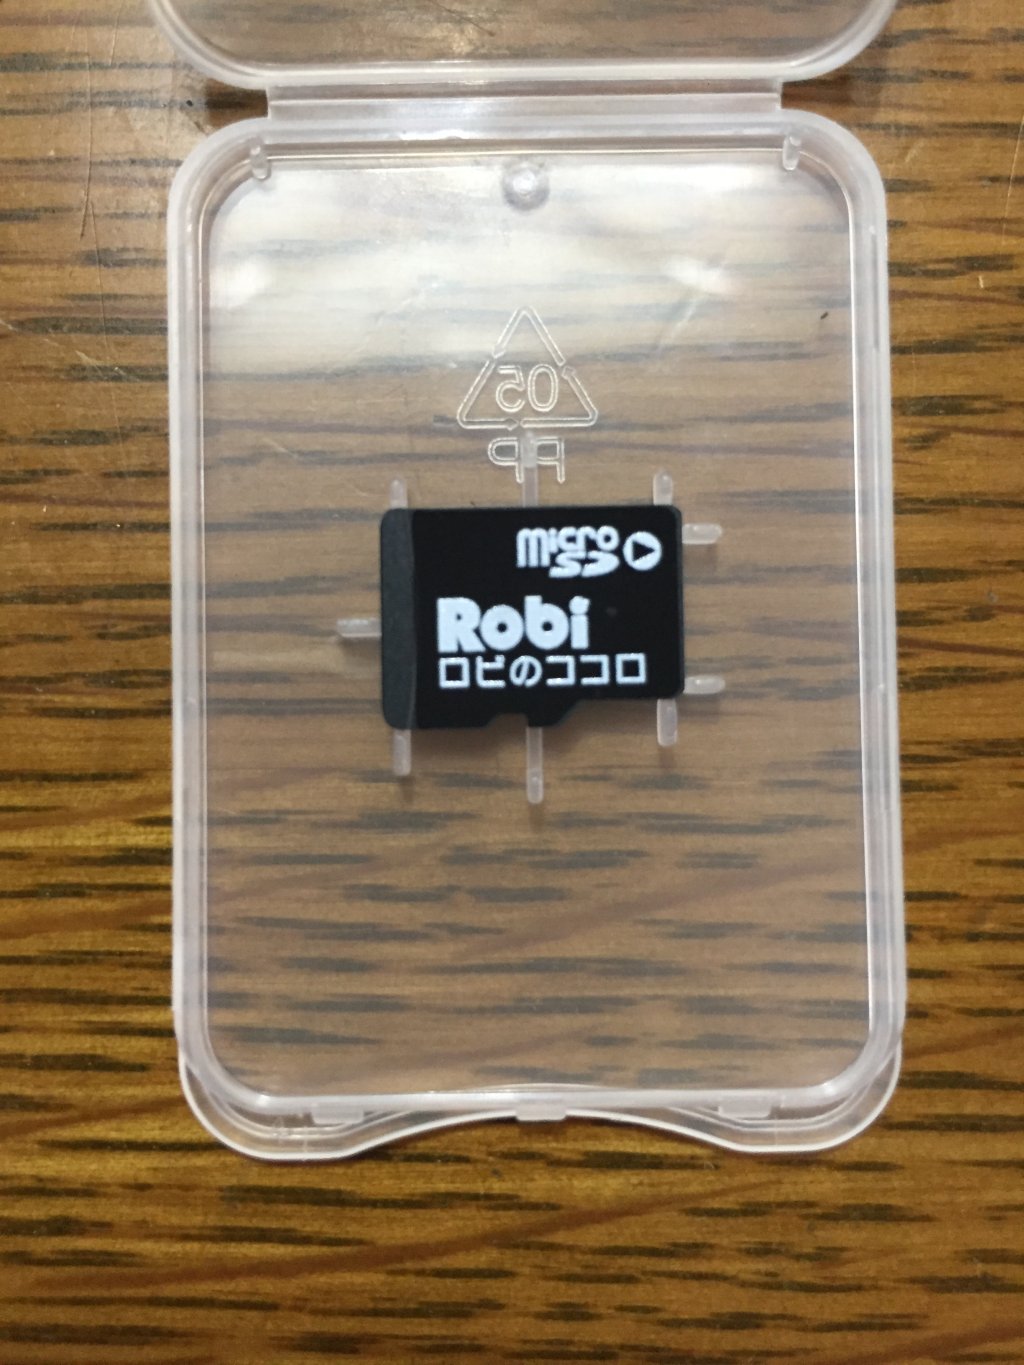
SD cards
The heart of Robi-kun is a set of pre-programmed instructions, a software, stored in an SD card. All the way until the last magazine I was using a test card which just makes all Robi-kun parts move in the same order over and over, lights his eyes, and makes him to say Okay at the max volume :) This helps to make sure all components are connected correctly. And only in the last magazine I’ve found an actual LIVE SD card, which has language recognition enabled, movements and pre-programmed character installed. There is nothing to program/modify for you but just thought it’s worth mentioning.
Agile approach
I was quite surprised yet happy to see that agile approach was used in providing parts and instructions to assemble the robot. For example a washer had an upgraded version and several magazines later I was asked to use the new version only.
Also, components had placeholders, e.g. head was mounted to body placeholder with a testing board for a long time. The body placeholder is in the photo below.
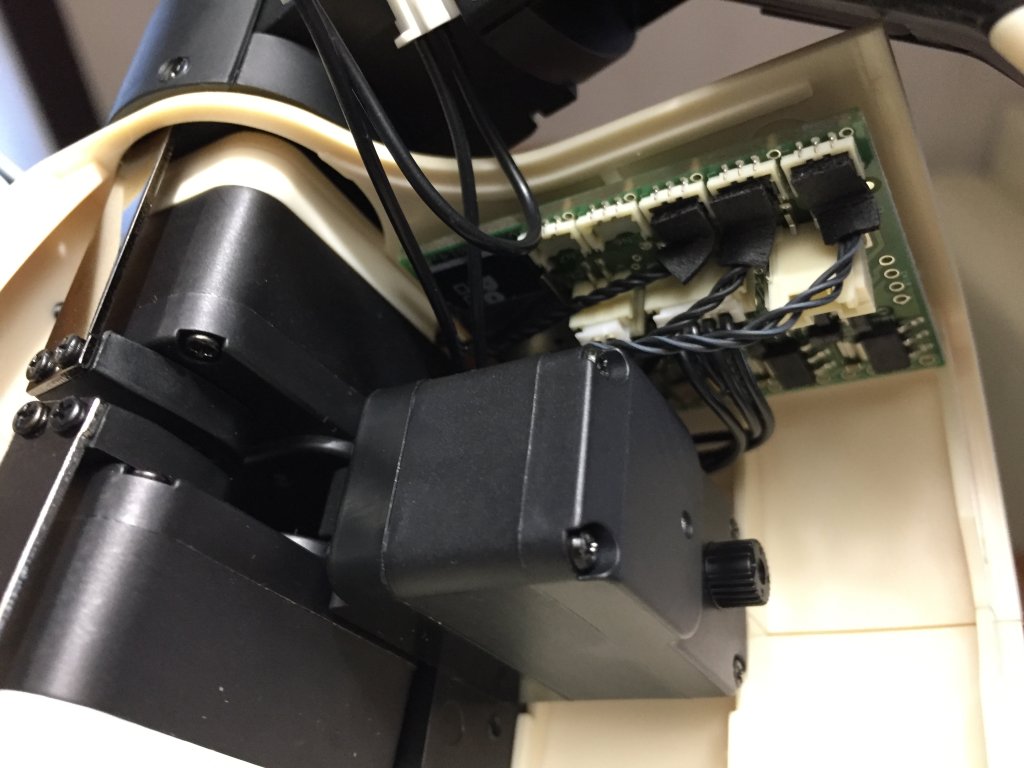
As you’ve seen in the head assembly photos, I had to dissemble the empty head, and load it with brains. Before there was a single motor in the body placeholder that was turning the head, however the actual body has much more complicated neck structure to lift and turn head to different directions. See the photo below.
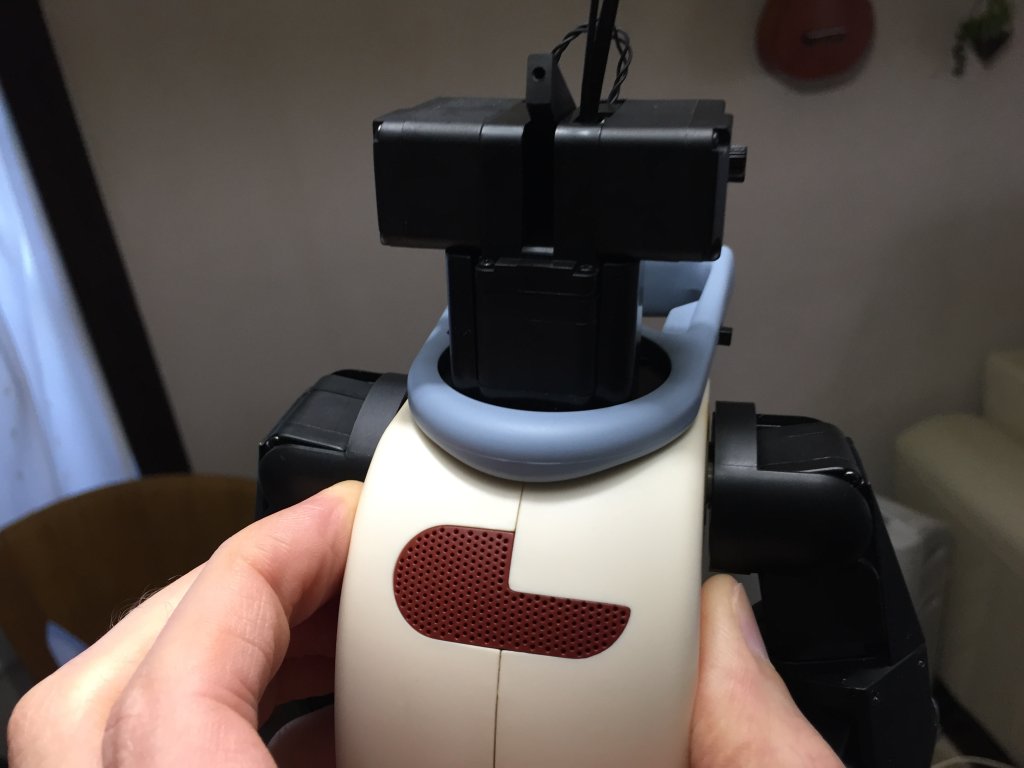
But the most important thing in all the re-do work was that all the parts followed the contract, i.e. cuts off and connectors were the same, therefpre it was easy to replace old parts/components with the new ones.
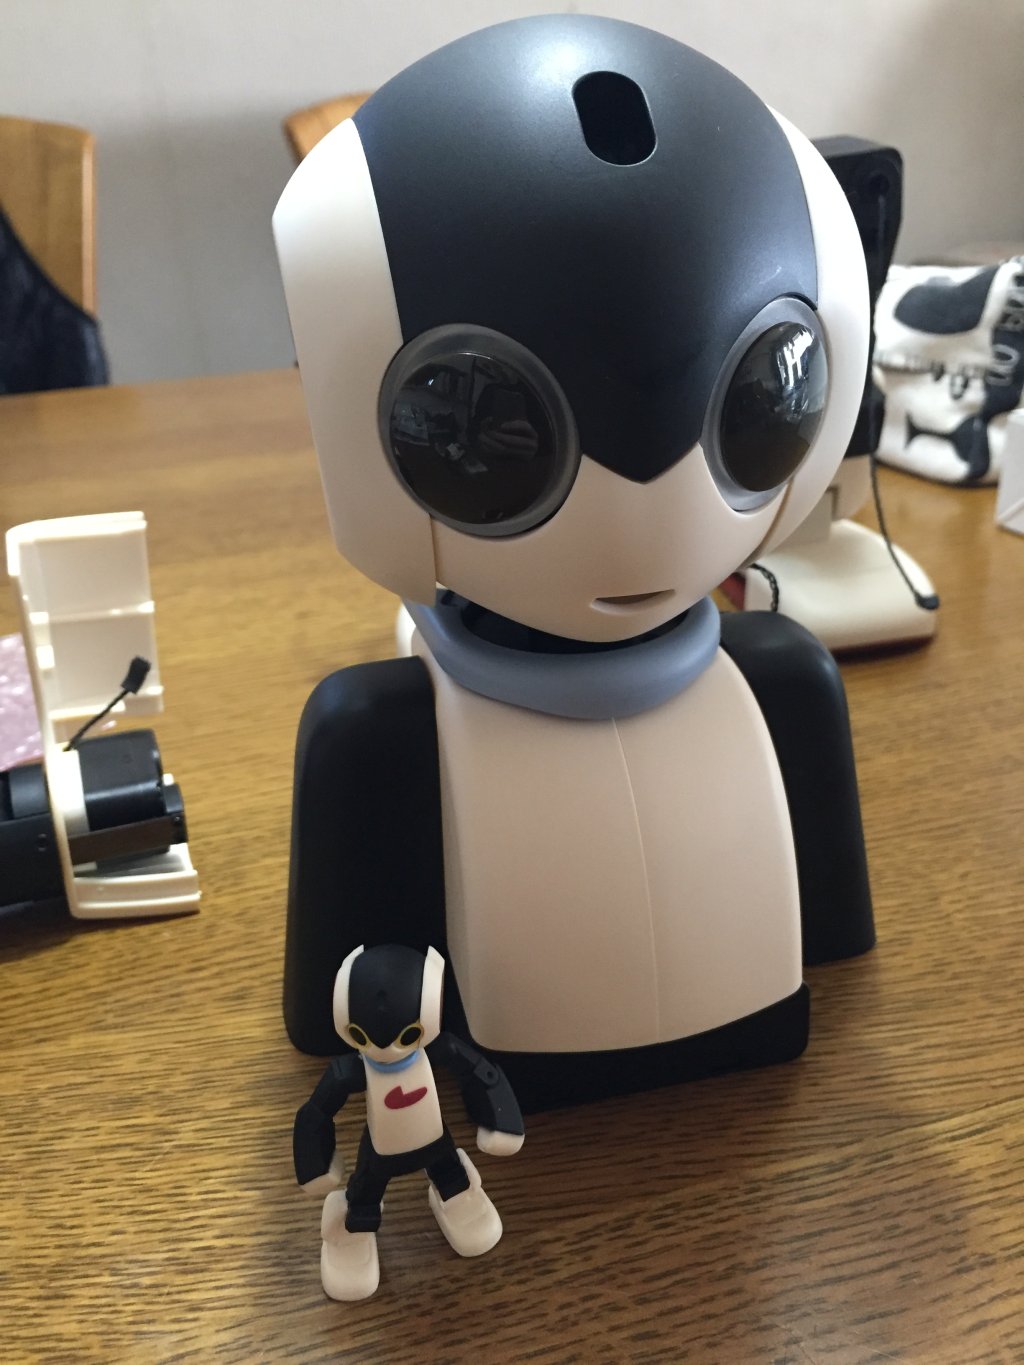
Testing Robi-kun
The fun part! Once Robi-kun was alive, I had some fun time testing it.
Robi-kun can understand about 270 Japanese words, and replies in natural sentences. In the video below he explained about De Agostini (pre-recorded narrative), and I asked him about his height (jap. 身長は?). Apparently my Japanese accent was not good enough :)
A really cool feature is a stand up (jap. 立ち上がって) – pay attention on how he stretches his legs to lift all his body up and uses arms to keep the balance!
Next, I’ve asked Robi-kun to sing a song (jap. 歌を歌って), however either my language was too slow, or my accent didn’t work out again, and Robi switched to a timer feature instead. After one minute of counting he says It’s time! (jap. 時間だよ).
Let’s play a game! If you pushing Robi-kun’s arms and head down in the correct order, you should get a congratulations greeting. I observed a game-over message though :)
One of accessories (toys) that comes with Robi-kun is a football ball, and in the football mode he can kick the ball to perform a shoot. I’ve observed a successful shoot, however at the time I was taking this video it didn’t go too well :)
Personally, the most amazing feature of Robi-kun is dancing… It’s absolutely amazing how he moves all his body in the rhythm of the music he is playing. And as you can guess, the dancing drains his battery quite fast… After the dance Robi-kun is saying he is tired (jap. 疲れっちゃった), and when trying to confirm if he is hungry (jap. お腹空いた?) I got the very cute positive answer (jap. ちょっと疲れてきちゃった).
Got tired? Let’s sit down and rest! As impressive as the stand up, the sit down (jap. 座って) uses similar moves to put Robi-kun down into sitting position.
Pros and cons
Pros
- Robi-kun is extremely cute. Appearance, voice, language, and the movements – it’s really amazing.
- The whole assembly process was very well documented, all parts were high quality and were cut off precisely, and the software running Robi is very well written.
- After I’ve spent long hours assembling him I got the feeling like Robi was a little baby, a new member in the family. And now I can say Robi-kun is alive :)
Cons
- Battery, battery, and once more time battery! You charge Robi for about an hour, and can play with him for no more than 10-15 min… That’s so frustrating! And event cannot use Robi while charging :(
- The price. The total price of all magazines stands at about 200,000 Japanese yen (~1,400 GBP).
- Robi can only understand the commands that were pre-programmed, i.e. he cannot analyze a sentence like for example Siri and pick up the commands from the sentence. Robi is not connected to the Internet and cannot connect to some cloud language recognition service.
Summary
I have to confess that Robi-kun is the best toy I’ve ever played with since my childhood! He has an extremely cute character and is very fun. However, the fun time only lasts while Robi is not charging his battery… If someone from your family has Robi or you can afford one yourself, I would definitely recommend spending time and playing with Robi, and familiarizing with the future of toys/robots!